For those of you who know me, and for those of you who don't quite yet, I am very indecisive...to a fault. So, when it came to determining a paint color and the type of paint I was going to use on my night stands, it was painful. At first, I had thought I would give Annie Sloan's Chalk Paint a try, as it doesn't require sanding or priming. However, once I started repairing the nightstands with puttying and sanding, I realized that I had pretty much sanded almost every area of the night stands. Annie Sloan's chalk paint is also very expensive, with the wax and all. Sooo, I turned to some of my favorite blogs for advice, and stumbled upon this very informative blog at Centsationalgirl.com. She has tons of experience painting furniture, so I totally respect her advice. She suggested two different types of paint to use on furniture: Benjamin Moore Advance and Sherwin Williams ProClassic. She describes them as "water based alkyd enamel paints. Alkyds are drying resins and are used in oil based paints but now synthetic versions are used in water-based enamel paints as well. What’s important is that the enamel gives you a really hard finish, meaning if you tap on it with your fingernail after a week or two of curing it will feel hard to the touch, and not pliable like other latex paints."
Since these are going in my bedroom, which will be re-painted within the year to Benjamin Moore's Van Courtland Blue. I wanted something that would coordinate with that color. It's a dark bluish gray. So I opted to use the Benjamin Moore Advance, where I was going to be painting my bedroom with Ben Moore. I went with a coordinating color, Wedgewood Gray.
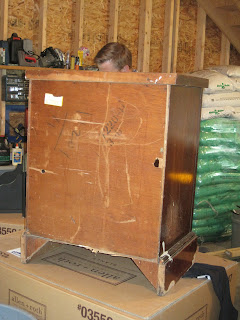
Here's what they looked like once I had finished puttying and sanding!
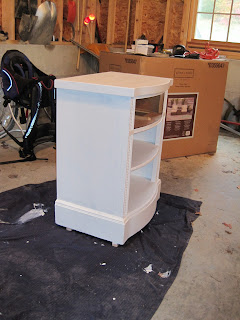
And, here's what they looked like after two coats of primer!
Before I began to paint, I cleaned all the dust and dirt off the night stands. I took off the drawer pull hardware, and filled the holes where the screws had been with wood putty. Since I will be putting on a drawer knob, which will be centered on the drawer front, I knew I wouldn't be using the existing holes. My hubby also tore off the plywood on the back of both night stands as they had holes in them, and were in rough shape. He purchased a 1/4" sheet of plywood to re-cover the backs. However, we are thinking we will only cover the back of the drawer, leaving the shelves open to the back. With all of that done, I then applied two light coats of Kiltz Original Primer, allowing to dry between coats. I used a Purdy 2" angled brush. This is an oil-based primer, which you can use under a water based paint. Clean up is a bit more, as you have to clean your brushes in Mineral Spirits.
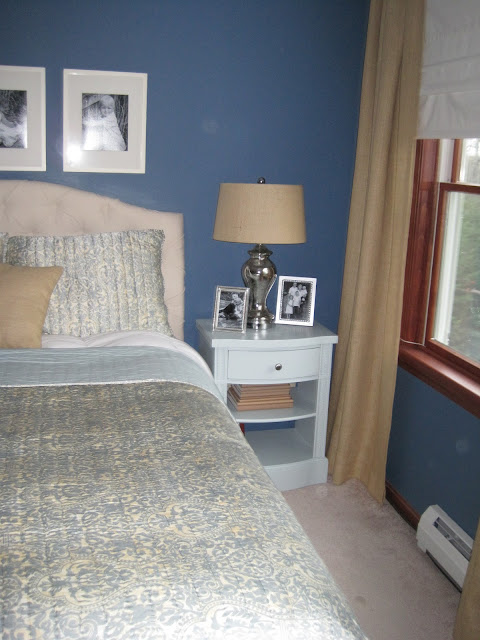
I then began painting. I used a new Purdy 2" angled brush, and a small roller for the flat surfaces such as the top and sides of the night stands. I applied 2 full coats, as you could still see some of the white primer after the first coat. I did a few touch-up jobs after the 2 coat was fully dried. Please note, you must wait 16 hours between coats, with this paint. They look amazing!
Hard to believe I bought these for $25/a piece!! I knew they had such potential. With a little bit of paint and a lot of T.L.C. they look brand new!!


